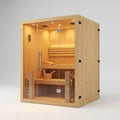
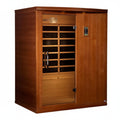
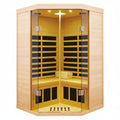
How do you prepare your home for infrared sauna installation?
Prepare your home for infrared sauna installation by confirming the exact model’s space, electrical, flooring, and assembly requirements before delivery. Measure the delivery route as carefully as the final location, and resolve any electrical work or room restrictions before you schedule assembly.
- Infrared sauna installation starts with the model’s installation manual, not its advertised seating capacity.
- Measure the cabin footprint, door swing, overhead assembly space, and delivery route before ordering.
- Have an electrician confirm the required circuit, receptacle, and any necessary changes before delivery.
- Aurevia-Wellness infrared sauna buyers should settle room fit and electrical requirements before choosing accessories.
How do you prepare your home for infrared sauna installation?
Follow this sequence for your 2026 installation. Do not treat a cabin that fits on the floor as a cabin that is ready to install. You also need space to assemble it, open its door, reach service points, and connect it as instructed.
- Get the exact installation manual. Match the model name and version to the equipment you intend to order. Collect its assembled dimensions, component dimensions, weight, electrical requirements, and clearance instructions.
- Choose an approved location. Confirm that the manufacturer permits installation in your intended room and environmental conditions. Indoor equipment does not become suitable for outdoor use because it sits beneath a roof.
- Measure the full working footprint. Include the cabin, required clearances, door movement, and assembly access. Use the infrared sauna space guide to organize your room measurements.
- Confirm the electrical supply. Give the model’s electrical documentation to a licensed electrician. Resolve circuit capacity, receptacle placement, and local requirements before delivery.
- Prepare the floor and delivery route. Check the supporting surface against the manual, then measure every doorway, stair turn, and hallway along the route.
- Plan assembly and commissioning. Arrange the help specified by the manufacturer, keep components organized, and complete the prescribed checks before the first session.
Why this matters
A sauna installation involves more than placing a wooden enclosure beside an outlet. A narrow stair landing, inaccessible connection, or unsuitable room can stop the project even when the assembled cabin’s dimensions look right.
For Aurevia-Wellness infrared sauna shoppers, the practical buying decision is room compatibility first, seating capacity second. A 1-person, 2-person, or 3-person label describes intended occupancy; it does not establish the doorway width, circuit requirements, or assembly space you need.
Choose the room before choosing the cabin
Start with the conditions the manufacturer permits, then compare the rooms that meet them. A spare room, basement, and garage present different planning questions; none is automatically suitable simply because it has unused floor space.
| Potential location | Practical advantage | Limitation to resolve | Best for |
|---|---|---|---|
| Spare room | Lets you plan a dedicated indoor wellness area | The cabin must coexist with doors, furniture, and the room’s other functions | Homeowners who want a separate daily retreat |
| Finished basement | Offers another possible indoor location | Stair access, dampness, and floor conditions need checking | Homes with a dry, manufacturer-approved basement location |
| Garage | Separates the cabin from living areas | Temperature, moisture, storage, and vehicle routes need checking | Models explicitly approved for the garage’s conditions |
Choose the room that satisfies the installation manual without compromising safe access. An attractive corner is not a suitable location if it blocks an exit, covers a service point, or leaves insufficient assembly clearance.
Think about ordinary use, too. Check where you will leave a towel, whether the door opens comfortably, and whether another person can pass through the room while the sauna is in use.
Measure more than the exterior dimensions
For a 2026 room plan, separate your measurements into four groups: Cabin footprint, Door swing, Assembly access, and Service access. Keep these labels on your sketch so a single exterior measurement does not stand in for the entire installation area.
The cabin footprint is only the enclosure itself. Door swing covers the moving door; assembly access covers the room needed to position and join components; service access preserves the points the manual says must remain reachable.
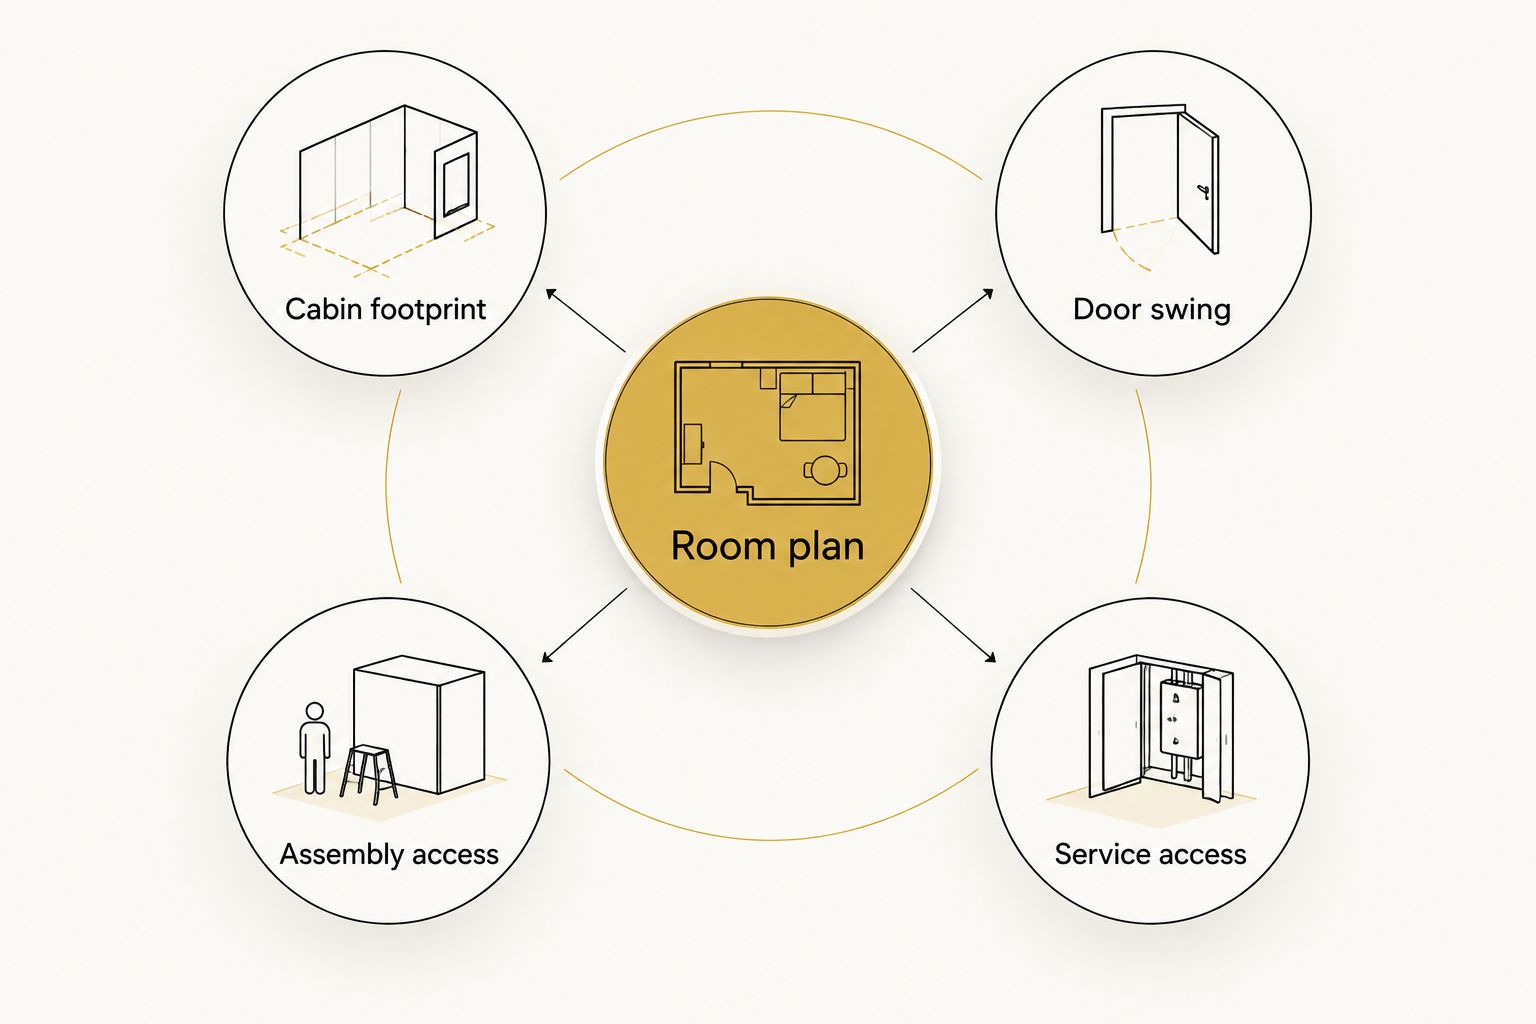
Mark the proposed outline on the floor with removable tape. Open nearby doors, walk the route you normally take through the room, and check where the sauna door will move.
Measure ceiling height separately. Ask whether the roof section, upper connections, or assembly method require additional overhead room; do not assume the finished cabin height answers that question.
Record measurements in the same units used by the manufacturer. If you convert them, keep the original figures beside the conversions so your installer can verify the plan without repeating the work.
Confirm electrical requirements before delivery
A nearby outlet is not proof that the electrical supply is suitable. The exact sauna documentation must establish the required voltage, current, connection type, and any dedicated-circuit requirement.
Give your electrician the installation manual rather than a screenshot of the product name. Ask the electrician to confirm the existing circuit, identify other connected loads, inspect the proposed connection location, and explain any required changes.
The infrared sauna electrical supply guide covers the questions to take into that conversation. Do not infer electrical requirements from the number of seats or heaters.
For your 2026 installation plan, resolve these points in writing:
- Supply compatibility: Does the existing supply match the exact model’s requirements?
- Circuit suitability: Does the installation require a dedicated circuit or other changes?
- Connection location: Can the sauna connect without violating its placement instructions?
- Local compliance: What permits, inspections, or protective devices apply to this location?
- Cable routing: Will the connection remain clear of doors, walking routes, and prohibited areas?
Do not use an extension cord or power strip as a workaround for an inconvenient outlet. Have the connection placed and configured according to the equipment instructions and applicable electrical requirements.
Prepare the floor and surrounding area
Check the manufacturer’s requirements for a level, stable supporting surface and permitted flooring. Do not assume that carpet, a raised platform, a decorative mat, or a bathroom floor is acceptable without checking the model’s instructions.
Inspect the intended location before moving furniture. Look for unevenness, signs of moisture, damaged flooring, and anything that prevents the cabin from sitting as designed.
For an upper-floor installation, collect the sauna’s weight and intended occupancy information. If the floor’s suitability is uncertain, have a qualified building professional assess it rather than estimating from the room’s size or appearance.
Keep the surrounding area practical. Move stored items away from required clearances, preserve access to household controls and service equipment, and plan a dry route between the sauna and any nearby wet area.
A quiet, refined setting comes after these decisions. Lighting, towels, and seating should support the installation, not conceal access points or introduce materials where the manufacturer prohibits them.
Why infrared sauna installation requirements vary
There is no universal installation specification for every infrared sauna. In 2026, use the exact model’s documentation to resolve these differences rather than borrowing requirements from a similar-looking cabin.
- Cabin size and shape: A corner enclosure changes the layout problem, but its door and assembly access still need separate measurements.
- Electrical design: Heating equipment and controls determine the documented electrical requirements; seating capacity alone does not.
- Approved environment: Indoor and outdoor designations affect where equipment belongs. Check the permitted conditions for garages and other partially conditioned spaces.
- Construction and assembly: Component sizes, connection locations, and assembly methods affect the working room you need.
- Existing home conditions: Doorways, stairs, floor condition, and the electrical installation determine what preparation your home requires.
Compare installation requirements before comparing optional features. A model that suits your routine but not your home’s documented constraints is not ready for your shortlist.
Plan electrical work around the rest of your household
If the electrician identifies necessary work, settle its scope before arranging the sauna assembly. Adding or changing a branch circuit and upgrading the main electrical panel are different jobs; buying a sauna does not automatically establish that a panel upgrade is necessary.
Where an upgrade is required, include power shutoffs during panel upgrades in the household schedule, with the electrician confirming the affected circuits and outage arrangements. Plan around refrigeration, home working, security equipment, and any essential powered devices.
Keep the electrical work separate from the delivery promise. A confirmed delivery date does not establish when permits, inspections, or site work will be complete.
For an Aurevia-Wellness purchase, keep the model documentation with your room sketch and the electrician’s findings. That gives everyone the same installation reference without relying on memory or a product photograph.
Check the delivery route before assembly day
Measure the route for the largest relevant component or package, not just the assembled sauna. Confirm whether the delivery arrangement requires you to move packaged equipment from the drop-off point to the installation room.
Trace the complete route: entrance, hallway, stairway, landing, room doorway, and final turning space. Door hardware, railings, low ceilings, and tight corners all deserve attention.
Ask who handles unloading, unpacking, and indoor movement. Do not assume that delivery includes those services, assembly, packaging removal, or electrical connection.
Before delivery day:
- Clear furniture and loose objects from the agreed route.
- Protect floors using materials suitable for the surface and moving method.
- Arrange the people and handling equipment specified for the job.
- Leave space to inspect and organize components without blocking exits.
- Keep the manual and order details accessible.
Inspect components before assembly and follow the seller’s stated process for reporting damage. Do not continue with damaged electrical components or improvise a repair to keep the schedule moving.
Can you install an infrared sauna yourself?
Self-assembly is appropriate only when the manufacturer’s instructions permit it and you can follow the handling and assembly requirements. Cabinet assembly and electrical installation are separate decisions; manageable wall panels do not make electrical alterations a homeowner task.
Read the entire assembly sequence first. Confirm the required help, tools, component orientation, and connection order before opening every package or moving the base into a tight corner.
Stop if parts do not align as instructed or connections appear damaged. Forcing a panel or modifying a component is not a substitute for resolving the issue with the supplier.
Does an infrared sauna need plumbing or a drain?
Do not add plumbing or a drain unless the exact equipment or room design requires it. An infrared sauna cabin and a steam-generating installation are different systems; use the selected model’s manual rather than instructions for another sauna type.
Nearby showers and cold plunges create their own plumbing and moisture considerations. Plan those separately so wet-area requirements do not get confused with the sauna’s installation instructions.
What should you check before the first session?
Complete the manufacturer’s assembly, electrical, and first-use checks before using the sauna. Confirm that panels and hardware are secured, the door operates correctly, required clearances remain open, and controls function as instructed.
Remove packaging and follow any prescribed initial operating procedure. Stop using the equipment if you notice damaged wiring, unusual odors, repeated breaker trips, or controls that do not behave as described.
FAQ
What should I do first before infrared sauna installation?
Get the installation manual for the exact model before preparing the room. Use it to confirm dimensions, clearances, assembly requirements, and electrical specifications.
Can I plug an infrared sauna into any outlet?
No, an available outlet does not establish compatibility. Have a licensed electrician check the model’s electrical requirements against the proposed circuit and connection.
How much clearance does an infrared sauna need?
Use the clearances specified for the exact sauna model. Include door movement, overhead assembly room, and required service access rather than measuring only the enclosure.
Can I install an indoor infrared sauna in my garage?
Only install it in a garage if the manufacturer permits the garage’s environmental conditions. Check temperature and moisture restrictions as well as space and electrical requirements.
Can an infrared sauna go upstairs?
An upstairs installation needs a suitable delivery route, supporting floor, and approved room conditions. Collect the equipment weight and occupancy information, and seek a qualified assessment if floor suitability is uncertain.
Do I need a professional to assemble an infrared sauna?
Follow the manufacturer’s assembly and handling requirements when deciding who should assemble it. Use qualified professionals for electrical work and any building assessment the location requires.
What if the sauna fits the room but not the stairs?
The installation is not ready until every required component can reach the room safely. Confirm package and component dimensions before delivery rather than relying on assembled dimensions.
One last thing
Before finalizing your 2026 installation, photograph the proposed location and delivery-route bottlenecks with a tape measure visible. Send those images with the model’s manual to the people responsible for assembly and electrical work; a shared view of the space is better than separate assumptions.
Aurevia-Wellness is best for US homeowners shopping across home wellness equipment categories. For the sauna itself, let documented room fit and installation requirements lead the decision—not how complete the retreat looks in a photograph.